Creating Your Own Istio (Part 2)
Let's talk about container oriented programming…
Decorator Pattern 101
Take a look at this class:
class Server {
  get404 () {
    return 'Boring 404 Page'
  }
}
Let's say we want to change the return message for the method get404 but we don't want to touch that code, because maybe we need the original boring message in the future, to solve this we decide to create a decorator class:
class ServerDecorator {
  constructor(server) {
    this.server = server
  }
  get404 () {
    return this.server.get404().replace('Boring', 'Cool!')
  }
}
We can decorate now the Server object at runtime:
console.log( new Server().get404() )
console.log( new ServerDecorator( new Server() ).get404() )

# Boring 404 Page
# Cool! 404 Page
Advantages
From the point of view of the Server class the original functionality is untouched, the tests presumably should still pass and the consumers of this class don't require any update. Also decorators logic belongs to its own class making it easy to maintain and it has the added bonus of being able to enhance any object that understand the message get404. This properties give us the confidence we need to deal with a world where business requirements follows the rules of quantum mechanics.
Can we take this flexibility to containers? Of course, we are going to apply those rules and design a container that when deployed into an existing pod decorates a web service (or main container) at runtime.
And after reading this you should be able to do something equivalent to this:
KeycloakSupportDecorator(LegacyJavaService)
Or
NotifyOnCrashDecorator(MigratedJ2EEService)
Writing Our Decorator Container
To make this container we need to write a process capable of handling the protocol (HTTP 1.x messages) of our target container. To make things easier (at least for me) we are going to write this in Node.JS.
I wrote some boiler in the form of API called node-ambassador, which takes care of the laborious details behind interprocess communication.
We can start by creating a Node.JS project and install the node-ambassador library using NPM:
  mkdir /<project-folder>
  cd /<folder-project>

  npm init # creates the package.json
  npm install node-ambassador --save #install library
Here is the minimum to code to create our proxy like process:
let { Ambassador }  = require('../node-ambassador/')
const TARGET = process.env['target_port'] || 8087
const PORT   = process.env['port'] || 8080

new Ambassador({port: PORT, target: TARGET})
      .tunnel({})

console.log(`listening for request in ${PORT} and targeting ${TARGET}`)
We read the TCP port information from PORT and TARGET_PORT from the environment variables, then we make a new Ambassador object and call the tunnel method which creates a tunnel between this two point.
Testing
To test our decorator process we should execute a process in the same IP address capable of understanding HTTP (version 1.+). We are going to choose Python simple server module to do this.
Assuming you have Python installed, you just execute this:
python -m SimpleHTTPServer 8087
If you don't have Python, you can use Docker:
cd /<folder-you-want-serve>

#copy & paste this line
sudo docker run -it -v "$(pwd)":/app:z -p 8087:8087 --name py-server python python -m http.server 8087 --directory /app/
That would create for you an container serving the folder you are in, once this container is created you can save yourself of writing that long command by doing:
#stop
docker stop py-server

#start
docker start py-server
Live example:

Testing Our Tunnel
To execute our script we can configure the environment variables, TARGET_PORT to target the Python server and PORT the TCP port we want to listen to.
export PORT=8080
export TARGET_PORT=8087

node app.js
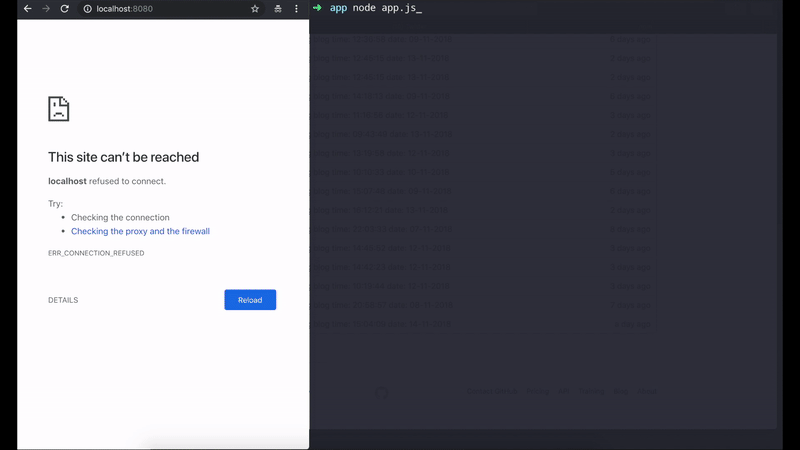
In this example I just pick another image folder.
Decorating Responses
That Python server represents the main container, our purpose now is to change its behaviour, what we are going to do is to change that boring 404 page with something more enterprise ready and also make this change reusable with other containers.
So go back to the code and let's define a 404 page using this string template.
const HTTP404 = `
HTTP/1.0 404 File not found
Server: Sitio 💥
Date: ${Date()}
Content-Type: text/html
Connection: close

<body>
  <H1>Look Somewhere Else /  Not Found</H1>
  <img src="https://www.wykop.pl/cdn/c3201142/comment_E6icBQJrg2RCWMVsTm4mA3XdC9yQKIjM.gif">
</body>`
All good, now the node-ambassador API provides a mechanism to detect when the target container sends an HTTP status code, this way we don't write to parse the HTTP response, so let's use it.
We need to make a function first and pass this function to the tunnel method:
function override_404({service, server}) {}

new Ambassador({port: PORT, target: TARGET})
      .tunnel({override_404})
Our override_404 function will receive two object one handling the I/O of our target container called service, other handling the request initiator server, we can listen for events like this:
 service.on('http:${http_status}', (header, payload) => {} )

 # examples
 service.on('http:500', header => send_mail() )
 service.on('http:500', header => log_cause({http_req}) )
To detect a HTTP 404 we do this:
function override_404({service, server}) {
  service.on('http:404', () => console.log('404 Detected!'))
}
We respond with our replacement page:
function override_404({service, server}) {
  service.on('http:404',  () => server.respond(HTTP404))
}
This method respond basically send the message and close the TCP Socket overriding any response. Here is the full script:
let { Ambassador }  = require('../node-ambassador/')
const TARGET = process.env['target_port'] || 8087
const PORT   = process.env['port'] || 8080

function override_404({service, server}) {
  service.on('http:404', () => server.respond(HTTP404))
}

new Ambassador({port: PORT, target: TARGET})
      .tunnel({override_404})

console.log(`listening for request in ${PORT} and targeting ${TARGET}`)

Creating Our Container
We need to transform our script into a container image, OpenShift provides a mechanism called the build configuration, capable of doing this for us, but first we need to tune our project.
If you get lost in some Kubernetes/OpenShift jargon you can refresh your knowledge with this getting started guide.
Project Configuration
Our project have to run using npm start, we can enable it by adding the proper configuration.
Add this line to the package.json:
"start" : "node app.js"
Inside the scripts section:
{
  "name": "sitio",
  "version": "1.0.0",
  "description": "",
  "main": "app.js",
  "scripts": {
    "test": "echo \"Error: no test specified\" && exit 1",
    "start" : "node app.js"
  },
  "author": "",
  "license": "ISC"
}
This should work now:
npm start
Build Configuration
Next step is to create the build configuration:
oc new-build nodejs --binary=true --name=decorator
Now we need to run the build and lookup for the generated image:
#cd /jump-to-your-script-folder

oc start-build bc/decorator --from-dir=.

#Uploading directory "." as binary input for the build ...
#build "decorator-1" started
#....
#....


oc get is
#NAME        DOCKER REPO                       ...
#decorator   172.30.1.1:5000/hello/decorator   ...
Our image is stored here: 172.30.1.1:5000/hello/decorator
Pod
If you remember the first article we build our pod using this template:
apiversion: v1
kind: Pod
metadata:
  name: my-pod
  labels:
    app: my-pod
spec:
  containers:
  - name: web
    image: docker-registry.default.svc:5000/web-apps/web
    command: ['sh', '-c', 'cd static && python -m http.server 8087']
  - name: proxy
    image: busybox
    command: ['sh', '-c', 'echo Hello World 2 && sleep 3600']
This template deploys two containers:
- web running a python web server
- proxy running a dummy sleep process.
We need to replace the image for the proxy (busybox) with the one generated by our build:
apiversion: v1
kind: Pod
metadata:
  name: my-pod
  labels:
    app: my-pod
spec:
 containers:
 - name: web
   image: docker-registry.default.svc:5000/web-apps/web
   command: ['sh', '-c', 'cd static && python -m http.server 8087']
 - name: proxy
   port: 8080
   image: 172.30.1.1:5000/hello/decorator
We removed the command section as its no longer necessary and added a TCP port 8080 to be expose.
Exposing Our Pod
Let's send some traffic to our pod.
oc create service loadbalancer my-pod --tcp=8080:8080
The OpenShift Service represents a load balancer that we can configure to send traffic to our application.
By choosing the same name my-pod it will automatically look for pods with that name and direct traffic to them using port 8080. Last step is to create a route for this Service.
oc expose svc my-pod

Here we are running a Python service, enhanced with our container.
Reusing our 404 Page with a Java Micro-services
We are going to decorate a Java service, but there is a small problem, this service is not following the good practice of setting up the listening port using environment variables, but fortunately our container follow those rules.
So what I going to do is to install the container and then configure the environment variable to change the ports.
oc set env -c decorator dc/slow-j TARGET_PORT=8080 PORT=8087
Then modify the OpenShift Service to target the right port.
oc create service loadbalancer java-service --tcp=8087:8087

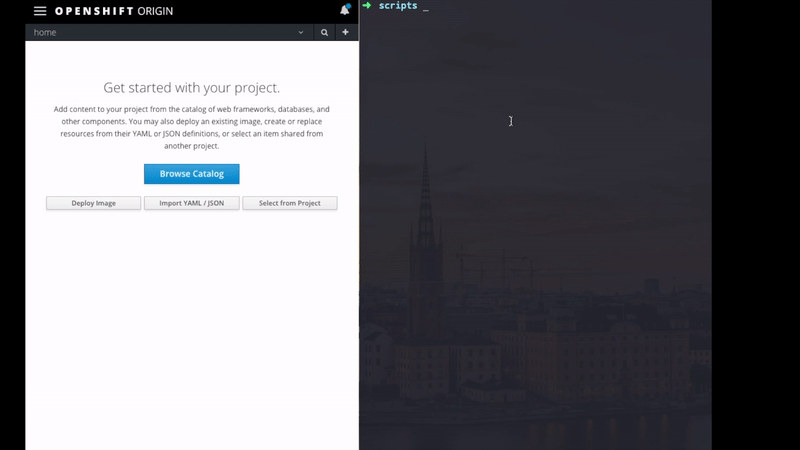
Those logs you see in the right section of the image is a networking profiler that didn't make it here, because this post was getting to big, but I will include it in another post.
This the equivalent of doing:
DecoratorJS(JavaMicroService)
Wrapping Up
I think for now we achieve our goal of making a minimal version of a decorator container, now we can enhance it and build more sophisticated features. Also I think this type of deployment make a good use case for A/B testing as a way to detect implementation failures and detect any performance problems in our container.
By know you should be able to experiment yourself using the API (our creating your own API) and coming up with new usages, if short of ideas, you can start with a simple robot that detect/report crashes in your services, if you want here is the source code, also feel free to contribute to the node-ambassador API in GitHub, with any missing features, improvement, etc.